Clone Twitter's Front End Part II

NOTE: This post was originally created as a lesson for my high school students. The target audience is beginners to web development.
Last post, we attempted to rebuild the front-end of Twitter’s feed page. It was all HTML and CSS before. This time, we’ll sprinkle in a dash of JavaScript and throw some animations in the mix.
This post won’t be as long as the last one, but it’ll be more logically challenging.
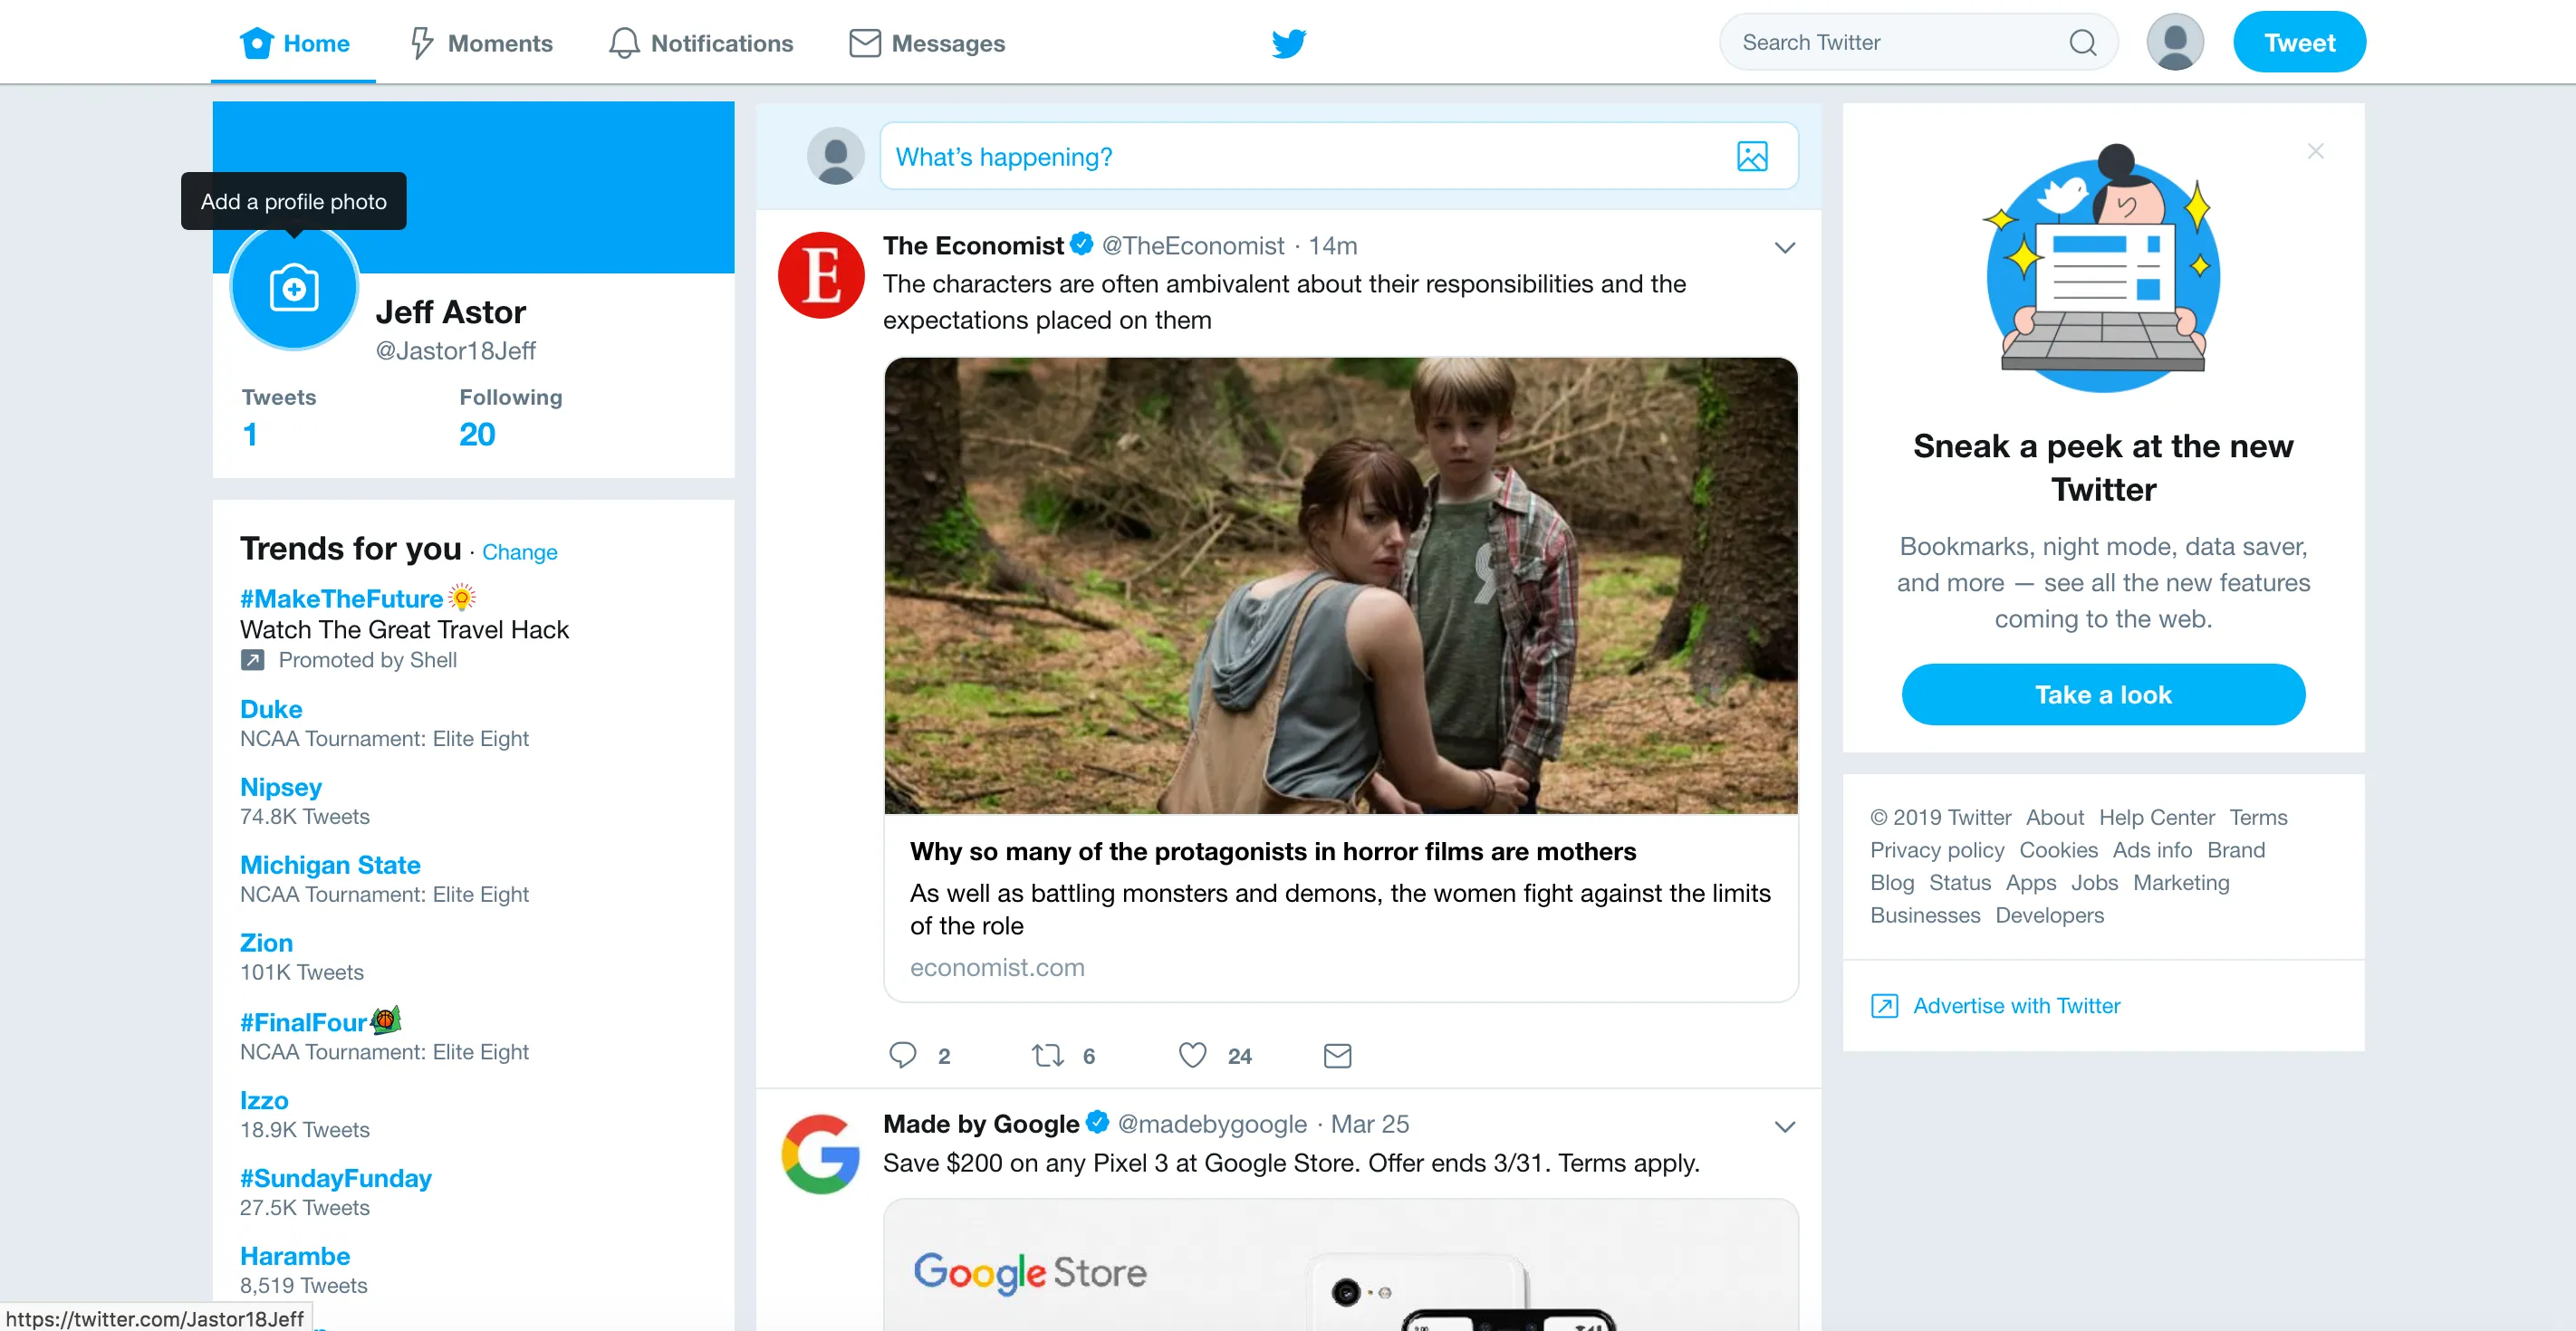
Again, this screenshot will serve as our guide during the process.
Let’s start by building the tweet box and creating an animation for an expanding and collapsing effect.
If you don’t have the code from the previous post, here’s the codepen we left off with last time.
Now we can get to business.
The Tweet Box
Update your feed column to have the following HTML code.
<div class="col feed">
  <div class="tweet-container">
    <div id="tweet-box-top" class="row">
      <span class="tweet-avatar fa-stack">
        <i class="fas fa-circle fa-stack-2x">
          <i class="fas fa-user fa-stack-1x"></i>
        </i>
      </span>

      <textarea id="tweet-box">What's happening?</textarea>

      <i id="tweet-box-img" class="fas fa-image"></i>
    </div>
    <div id="tweet-actions" class="row">
      <div class="icon-set">
        <i class="fas fa-image"></i>
        <i class="icon-gif">GIF</i>
        <i class="far fa-chart-bar"></i>
        <i class="fas fa-map-marker-alt"></i>
      </div>
      <div class="submit">
        <i class="fas fa-plus-circle"></i>
        <button id="tweet-submit">Tweet</button>
      </div>
    </div>
  </div>

  <div class="see-new-tweets">
    <p>See <span>13</span> New Tweets</p>
  </div>
  <div class="twitter-posts"></div>
</div>
and just a smidgeon of CSS.
.fa-stack i.fa-circle {
  color: var(--color-twitter-mid-gray);
  font-size: 35px;
  display: flex;
  justify-content: center;
  align-items: center;
  overflow: hidden;
  border-radius: 50%;
}
.fa-stack i.fa-user {
  color: var(--color-twitter-dark-gray);
  font-size: 24px;
  transform: translateY(6px);
}

/***************
      FEED
***************/
.main .feed {
  grid-area: feed;
  background: white;
}
.main .feed .tweet-container {
  background: var(--color-twitter-light-blue);
  transition: height 0.2s ease;
}
.main .feed .tweet-container .row {
  display: flex;
}
We now see all the components that are going to make up our tweet box, and the light blue container that will hold them. This section is definitely in need of some spacing, so let’s start building the top row and work our way down.
Add the next chunk of CSS to your codepen.
.main .feed .tweet-container #tweet-box-top {
  padding-top: 10px;
}
.main .feed .tweet-avatar {
  margin-left: 20px;
}
.main .feed textarea {
  flex: 1;
  height: 40px;
  margin-left: 10px;
  margin-right: -10px;
  border-radius: 8px;
  border: solid 1px var(--color-twitter-mid-gray);
  color: var(--color-twitter-blue);
  padding: 8px 20px 0 8px;
  font-size: 16px;
  transition: height 0.2s ease;
  font-weight: 300;
  resize: none;
}
.main .feed #tweet-box-top .fa-image,
.main .feed #tweet-box-top .fa-smile {
  transform: translateX(-25px) translateY(8px);
  font-size: 24px;
  color: var(--color-twitter-blue);
  transition: all 0.2s ease;
}
Ok, a few things happening here. We’re telling the textarea to have flex: 1, making it take up all of the available space. We add some spacing on the top and left, and not allow the user to resize the textarea.
We also transform the position of the image icon (.fa-image) to move 25px to the left in the X direction, and 8px down in the Y direction. The allows it to overlap the textarea in the top right. In a second, we’ll add some JavaScript that adjusts this icon into a smile. That is why we give the same CSS to the .fa-smile icon as well.
The rest is standard.
Now for the second row.
.main .feed .tweet-container #tweet-actions {
  height: 60px;
  display: flex;
  align-items: flex-start;
  justify-content: space-between;
  margin-left: 70px;
  margin-right: 15px;
  margin-top: 10px;
}
.main .feed .tweet-container #tweet-actions .icon-set {
  display: flex;
  align-items: center;
  justify-content: space-between;
  flex: 1;
}
.main .feed .tweet-container #tweet-actions i {
  color: var(--color-twitter-blue);
  font-size: 24px;
  transform: translateY(3px);
  padding-bottom: 5px;
}
.main .feed .tweet-container #tweet-actions .icon-gif {
  font-size: 10px;
  padding: 4px;
  border: solid 1px var(--color-twitter-blue);
  border-radius: 4px;
  transform: translateY(0px);
}
.main .feed .tweet-container #tweet-actions .submit {
  flex: 1;
  display: flex;
  justify-content: flex-end;
  align-items: center;
}
.main .feed .tweet-container #tweet-actions .submit button {
  background: var(--color-twitter-blue);
  color: white;
  font-size: 15px;
  padding: 6px 12px;
  border-radius: 20px;
  margin-left: 10px;
}
The only funky part here is icon-gif class. We’re doing our best to copy Twitter’s version, but we’re only taking advantage of font awesome, and they didn’t seem to have anything close enough. So we make our own.
Add the .see-new-tweets section CSS as well.
/***************
  Twitter Feed
****************/
.main .feed .see-new-tweets {
  background: rgb(245, 248, 250);
  height: 50px;
  display: flex;
  justify-content: center;
  align-items: center;
}
.main .feed .see-new-tweets p {
  color: var(--color-twitter-blue);
  cursor: pointer;
}
Now we have something like this.
Oooh, pretty.
The Twitter Feed and Event Listeners
We’ve done so much setup, but now we’re finally here. Let’s step into the JavaScript section. We’re going to create an accordion style effect as soon as the user clicks inside the textarea.
To do that, we’ll need to setup a few event listeners.
My personal preference is to grab all the DOM elements we’ll need to manipulate at the beginning of my script.
// Header: ./index.js
let tweetBox = document.querySelector("#tweet-box")
let tweetContainer = document.querySelector(".tweet-container")
let tweetBoxTop = document.querySelector("#tweet-box-top")
let tweetActions = document.querySelector("#tweet-actions")
let tweetBoxImage = document.querySelector("#tweet-box-img")
let tweetSubmitBtn = document.querySelector("#tweet-submit")
All we’re doing here is storing different HTML elements in variables. We do this by using the document.querySelector( ) method and the element’s id. I’ve found that my code is generally more bug-free when I select elements by their id. There is even a method called document.getElementById( ) that has the same effect. However, document.querySelector( ) aligns with CSS better, so I pretty much always use it.
Next, we’ll make two functions that will either expand or reset the tweet box.
let tweetBox = document.querySelector("#tweet-box")
let tweetContainer = document.querySelector(".tweet-container")
let tweetBoxTop = document.querySelector("#tweet-box-top")
let tweetActions = document.querySelector("#tweet-actions")
let tweetBoxImage = document.querySelector("#tweet-box-img")
let tweetSubmitBtn = document.querySelector("#tweet-submit")

const resetTweetBox = () => {
  tweetActions.style.display = "none"
  tweetBox.style.height = "40px"
  tweetContainer.style.height = "70px"
  tweetBoxImage.setAttribute("class", "fas fa-image")
}

const expandTweetBox = () => {
  tweetBox.style.height = "150px"
  tweetActions.style.display = "flex"
  tweetContainer.style.height = "220px"
  tweetBoxImage.setAttribute("class", "fas fa-smile")
}
This part is more interesting. On line 8, we’re creating a variable called resetTweetBox using the const key word. Just like let, whenever we use the const key word, we follow that with the name of the variable.
The difference between the let and const variable declarations is that const variables can not be re-assigned.
So, this is legal:
let age = 17
age = 19
And this is illegal:
const name = "Will Smith"
name = "William Smith" // ERROR - can't reassign const variable
When we say const resetTweetBox = () => {}, we are assigning an anonymous function to the variable resetTweetBox. The anonymous function is new ES6 style JavaScript and is created by writing open and closed parenthesis ( ), followed by a fat arrow =>, followed by the body of the function. The body usually goes inside the squiggly brackets {}. If we need to add arguments, we place them inside the parenthesis just like normal functions.
Example: const expandTweetBox = (event) => { console.log(event) }
Inside each of these functions, we change the style of a few HTML elements according to what we want.
When we reset the tweet box, we remove the bottom row of icons (#tweet-actions), set the height of the textarea and .tweet-container, then use setAttribute('class', 'fa fa-image') to make the icon inside the <textarea> an image icon.
If we expand the tweet box, we expand both the textarea and the .tweet-container. We tell the bottom row of icons to display flex, so they appear. Finally, we change the icon to a smiley face (where the user would be able to select emojis).
Try running the resetTweetBox function and then run the expandTweetBox function afterwards. See how this changes the layout?
Great. Now let’s set up the event listener. Add this to the bottom of your JS script.
// ...other javascript
resetTweetBox()

tweetBox.addEventListener("focus", (e) => {
  expandTweetBox()
})
We start by running the resetTweetBox( ) function as soon as the file loads. Then we set up an event listener that waits for a focus event. This occurs when the user clicks inside the textarea of the tweet box. We then run a function that calls the expandTweetBox( ) function.
Click inside the textarea to see it in action.
Check that out! The section expands nicely and the image changes.
Notice how it doesn’t close though? We only want the box to close if the user clicks outside of the .tweet-container element. To accomplish this, we’ll set an event listener on the document itself. We’ll listen to any click on the page, and let the events get passed up to the document. This is called event delegation . Events in the DOM bubble up to the root element stored in the document variable.
When any element is clicked, we’ll check to see if it has a parent element with the class of .tweet-container. Essentially, we’re checking to see if the user clicked inside of the tweet box. We figure that out by using the event object that is created when a user clicks. That variable is passed to the callback function in the event listener, and we use the event.target.closest() method to find an ancestor with the .tweet-container class. Read more about closest( ) here .
Then, we check to see if the element clicked on has an id of tweet-submit. That would mean the user clicked on the TWEET button. If they did, we’ll submit the tweet.
If the user didn’t click inside the tweet container and didn’t click on the TWEET button, then we reset the tweet box.
// ...other JavaScript
document.addEventListener("click", (event) => {
  if (event.target.closest(".tweet-container")) {
    if (event.target.id === "tweet-submit") {
      // submit the tweet
      submitTweet()
    }
  } else {
    resetTweetBox()
  }
})
And now we should see something like the following:
Ta-da! Hope you feel as good about that as I do.
The Final Touches
The Twitter Feed page wouldn’t be complete without the ability to actually add tweets to our feed. I’ll throw some code at you that should make this happen quick and dirty.
Update the HTML for your feed column to look like this:
<div class="col feed">
<div class="tweet-container">
<div id="tweet-box-top" class="row">
<span class="tweet-avatar fa-stack">
<i class="fas fa-circle fa-stack-2x">
<i class="fas fa-user fa-stack-1x"></i>
</i>
</span>
<textarea id="tweet-box">What's happening?</textarea>
<i id="tweet-box-img" class="fas fa-image"></i>
</div>
<div id="tweet-actions" class="row">
<div class="icon-set">
<i class="fas fa-image"></i>
<i class="icon-gif">GIF</i>
<i class="far fa-chart-bar"></i>
<i class="fas fa-map-marker-alt"></i>
</div>
<div class="submit">
<i class="fas fa-plus-circle"></i>
<button id="tweet-submit">Tweet</button>
</div>
</div>
</div>
<div class="see-new-tweets">
<p>See <span>13</span> New Tweets</p>
</div>
<div id="twitter-posts" class="twitter-posts">
<div class="tweet">
<div class="tweet-left">
<span class="tweet-avatar fa-stack">
<i class="fas fa-circle fa-stack-2x">
<i class="fas fa-user fa-stack-1x"></i>
</i>
</span>
</div>
<div class="tweet-right">
<div class="tweet-top-meta">
<div class="tweet-top-name-and-handle">
<p class="name">Jeff Astor</p>
<span> @jastornaut </span>
<span>• </span>
<span>2h</span>
</div>
<i class="fa fa-angle-down"></i>
</div>
<p class="tweet-text">
This is a tweet about something that excites me greatly. I'm going to proclaim my excitement on social media
and be showered with praises for my great taste.
</p>
<div class="tweet-bottom-meta">
<span><i class="fa fa-comment"></i>445</span>
<span><i class="fa fa-retweet"></i>121</span>
<span><i class="fas fa-heart"></i>165k</span>
<span><i class="fa fa-envelope"></i></span>
</div>
</div>
</div>
</div>
</div>
Then add the following CSS to your file:
/****************
   ACTUAL TWEET
*****************/
#twitter-posts .tweet {
  width: 100%;
  border: solid 1px var(--color-twitter-light-gray);
  display: grid;
  grid-template-columns: 70px 1fr;
}
#twitter-posts .tweet-left {
  padding: 5px;
}
#twitter-posts .tweet-right {
  padding: 15px;
  width: 100%;
}
#twitter-posts .tweet-right .tweet-top-meta {
  display: flex;
  justify-content: space-between;
}
#twitter-posts .tweet-right .tweet-top-meta span {
  color: var(--color-twitter-dark-gray);
}
#twitter-posts .tweet-right .tweet-top-meta i {
  color: var(--color-twitter-blue);
  transform: translateY(-7px);
}
#twitter-posts .tweet-right .tweet-top-meta i.fa-check {
  color: white;
  font-size: 8px;
  transform: translateY(0px);
}
#twitter-posts .tweet-right .tweet-top-meta .tweet-top-name-and-handle {
  display: flex;
}
#twitter-posts .tweet-right .tweet-top-meta .name {
  font-weight: bold;
}
#twitter-posts .tweet-right .tweet-text {
  margin-top: 5px;
  line-height: 22px;
}
#twitter-posts .tweet-right .tweet-bottom-meta {
  display: flex;
  margin-top: 10px;
}
#twitter-posts .tweet-right .tweet-bottom-meta i {
  margin-right: 10px;
  color: var(--color-twitter-dark-gray);
}
#twitter-posts .tweet-right .tweet-bottom-meta span {
  cursor: pointer;
}
#twitter-posts .tweet-right .tweet-bottom-meta span:hover i {
  color: var(--color-twitter-blue);
}
#twitter-posts .tweet-right .tweet-bottom-meta span {
  margin-right: 40px;
  color: var(--color-twitter-dark-gray);
  display: flex;
}
And finally, replace your media queries section with this code:
/**************
  MEDIA QUERIES
***************/
@media screen and (max-width: 1150px) {
  .navbar {
    padding: 0 15px;
    grid-template-areas: " links links links . . bird . search search search actions actions";
  }
  .main {
    padding: 60px 20px;
    grid-template-areas: "left-col left-col left-col feed feed feed feed feed feed right-col right-col right-col";
  }
}
@media screen and (max-width: 900px) {
  .navbar {
    grid-template-areas: "links links links links . . bird search search search actions actions";
  }
  .main {
    padding: 60px 20px;
    grid-template-areas: "left-col left-col left-col left-col feed feed feed feed feed feed feed feed";
  }
  .navbar .links li.active span::before {
    margin-left: -25px;
  }
  .right-col {
    display: none;
  }
}
@media screen and (max-width: 740px) {
  .navbar {
    grid-template-areas: "links links links links . . . . . . . bird";
  }
  .search,
  .actions {
    display: none;
  }
  .left-col,
  .right-col {
    display: none;
  }
  .main {
    padding: 60px 20px;
    grid-template-areas: "feed feed feed feed feed feed feed feed feed feed feed feed";
  }
  .tweet {
    min-width: 300px;
  }
  .tweet .tweet-text {
    width: 80%;
  }
}
With that, we can see what our tweets will like like as they’re added to the feed. We want to create one every time the user clicks on TWEET. Let’s make one last function called submitTweet().
const submitTweet = () => {
  let tweet = tweetBox.value
  console.log(tweet)
  if (tweet.length > 0) {
    addNewTweet(tweet)
  }
}
This function first creates a variable called tweet and then grabs the value of the tweetBox. Whatever the user has typed into the textarea will be stored in the variable tweet. We console.log it, just to see what it looks like. Then, we check to see if the length of the string is more than 0. If it is, we call another function called addNewTweet(), and we pass it the tweet text as an argument.
That addNewTweet() function looks like this:
const addNewTweet = (tweet) => {
let tweetHTML = document.createElement("div")
tweetHTML.setAttribute("class", "tweet")
tweetHTML.innerHTML = `
<div class="tweet-left">
<span class="tweet-avatar fa-stack">
<i class="fas fa-circle fa-stack-2x">
<i class="fas fa-user fa-stack-1x"></i>
</i>
</span>
</div>
<div class="tweet-right">
<div class="tweet-top-meta">
<div class="tweet-top-name-and-handle">
<p class="name">Jeff Astor</p>
<span> @jastornaut </span>
<span>• </span>
<span>1 min</span>
</div>
<i class="fa fa-angle-down"></i>
</div>
<p class="tweet-text">${tweet}</p>
<div class="tweet-bottom-meta">
<span><i class="fa fa-comment"></i>0</span>
<span><i class="fa fa-retweet"></i>0</span>
<span><i class="fas fa-heart"></i>0</span>
<span><i class="fa fa-envelope"></i></span>
</div>
</div>
`
tweetFeed.prepend(tweetHTML)
tweetBox.value = ""
}
resetTweetBox()
Try that out. It should work.
We create a div element and store it in the tweetHTML variable. Then, we assign it the class of tweet and set it’s innerHTML equal to a big chunk of HTML. This is just copied from the HTML we saw earlier, all inside of backticks: ` `. These are called template literals and they let us insert variables inside of the string without using the + operator.
We insert the tweet variable into the string, and it creates the desired HTML for our new tweet. At the end of the function, we tell the #tweet-feed element to prepend the tweetHTML (or place at the beginning of the feed). Finally, we reset the inside of the tweetBox to be an empty string. Read more about prepend() here .
Oh my that’s been a lot of typing. I think we’re finally ready to call it quits.
The Final Reveal
Heres what it looks like up to now.
Wrapping Up and Resources
Well that was fun. Remaking famous web apps is a good way to practice various front-end skills. Give it a go and see if you can recreate your own. I’ve been thinking about cloning an AirBnB or Pinterest page myself. Look out for a post like this in the future.
Feel free to send me any and all improvements or suggestions.
- Event Bubbling in Vanilla JavaScript - https://gomakethings.com/checking-event-target-selectors-with-event-bubbling-in-vanilla-javascript/#closest
- MDN prepend - https://developer.mozilla.org/en-US/docs/Web/API/ParentNode/prepend
- MDN closest - https://developer.mozilla.org/en-US/docs/Web/API/Element/closest
